Fastening and Sealing Details for Flexible Ducts
Even the most expensive ventilation system will lose its efficiency without high-quality sealing details. Special rubber gaskets, locking rings, and blanking caps ensure top-tier airtightness without any duct tape.
This guarantees that heated air reaches every room in your home without leaks, and the system operates quietly, efficiently, and durably.
 Plastic Cap for Flexible Duct Systems€2.36-€2.99

How small details determine the success of the entire ventilation system
Invisible pressure drops and wasted energy
The strength of a ventilation system is measured by its weakest link. You can buy the absolute best heat recovery unit on the market, but if the air travels through leaky pipe joints, your investment will not pay off. Using improper fastening methods, such as duct tape, construction glue, or random screws, creates invisible micro-gaps.
These gaps become a constant source of heat leakage in your home. Air is blown into the ceiling voids, system pressure drops, and the HRV unit's motors are forced to spin faster and louder to compensate for the shortfall. The result is increased electricity bills, noisy nighttime operation, and still-stuffy air in the bedrooms.
The mechanical airtightness standard
By using original fastening and sealing details, the system becomes completely hermetic. These small but technologically advanced parts eliminate the risk of human error. A rubber gasket perfectly fills the space between the flexible duct and the fitting, leaving absolutely no path for air to escape.
Your home ventilation becomes bulletproof even after decades. Locking rings mechanically secure the duct, ensuring it will not pull out even if building vibrations occur or if the pipe is accidentally tugged during finishing work. You get a system you can trust and forget about any leaks entirely.
100% mechanical airtightness – special gaskets and clips guarantee the highest Class C or D hermeticity, ensuring your heat recovery unit will operate exceptionally quietly and economically.
What details do you need for a complete system assembly?
A flexible duct system is designed like a large building kit. For all the main parts to work flawlessly, they must be connected using specialized accessories. When gathering materials for your home, make sure you have all these essential elements:
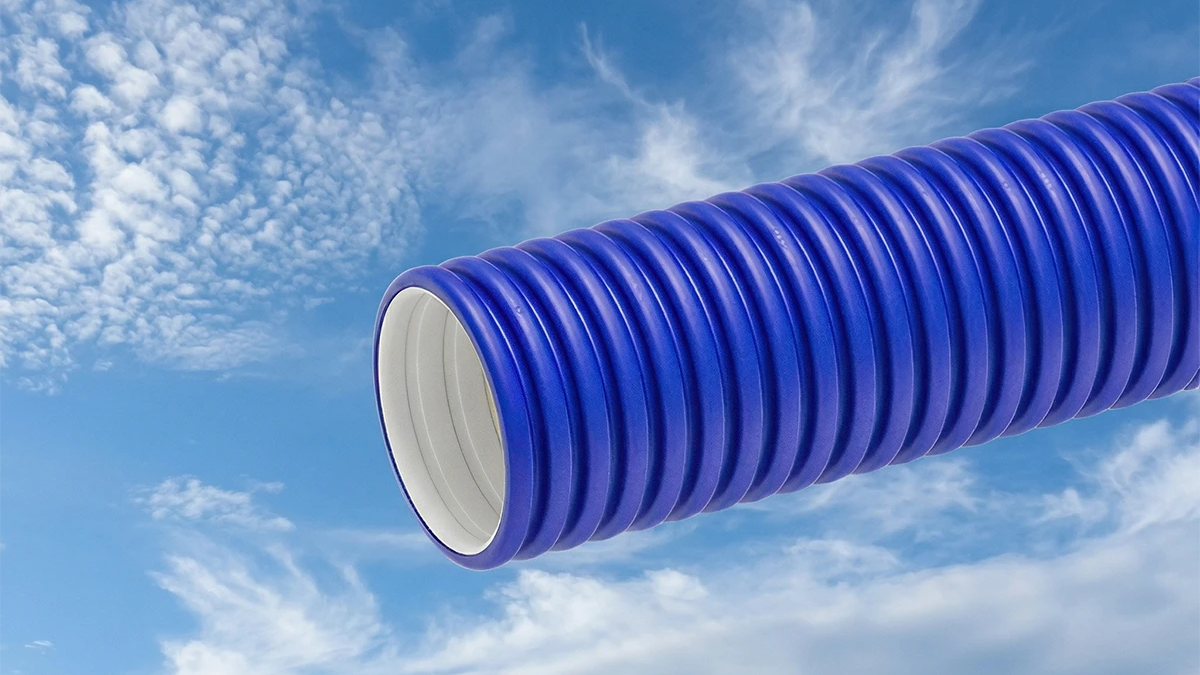
- Rubber sealing gaskets (O-rings) - the crucial element of airtightness. They are slipped onto the end of the duct before inserting it into any fitting. It is recommended to have a few more gaskets than planned connections, as they can easily get lost on a construction site.
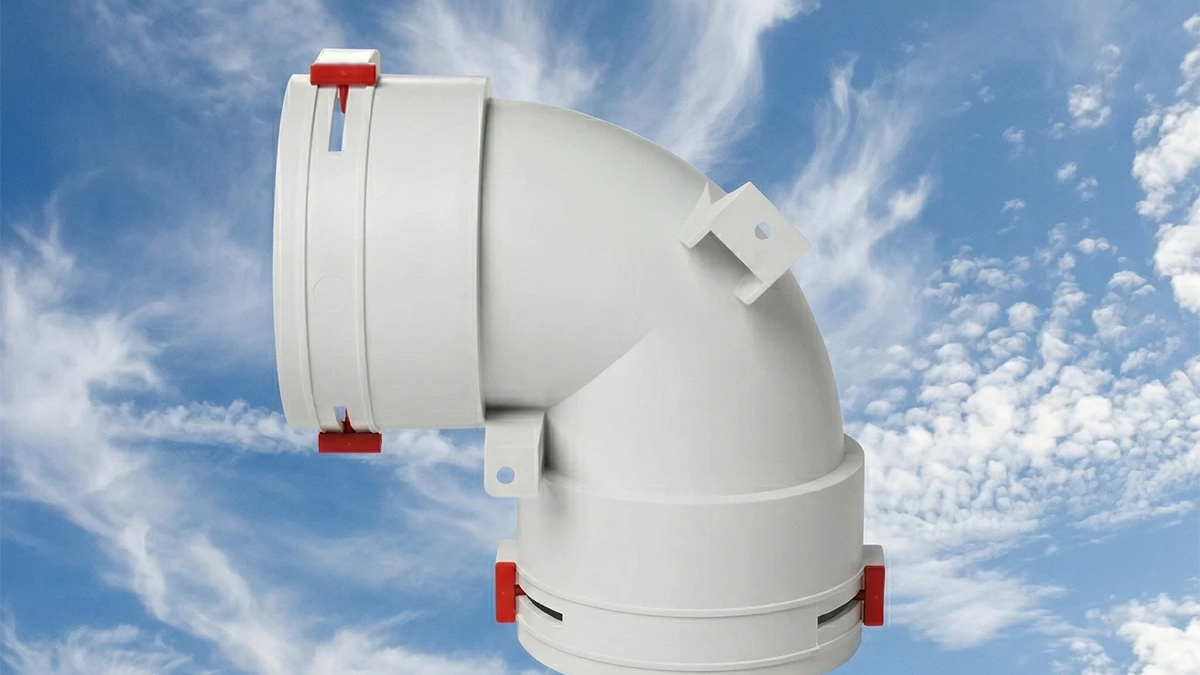
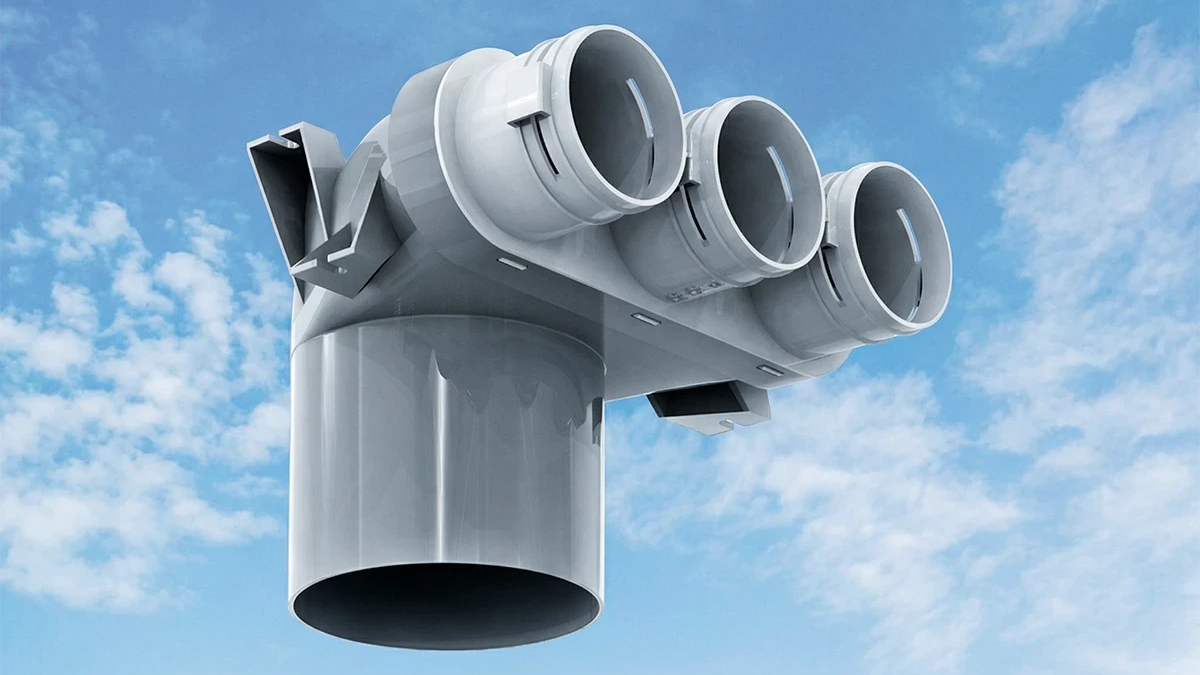
- Locking rings (clips) - plastic half-rings or full rings that snap over the inserted duct and mechanically lock it into the manifold or box branch. They prevent the duct from slipping out during installation.
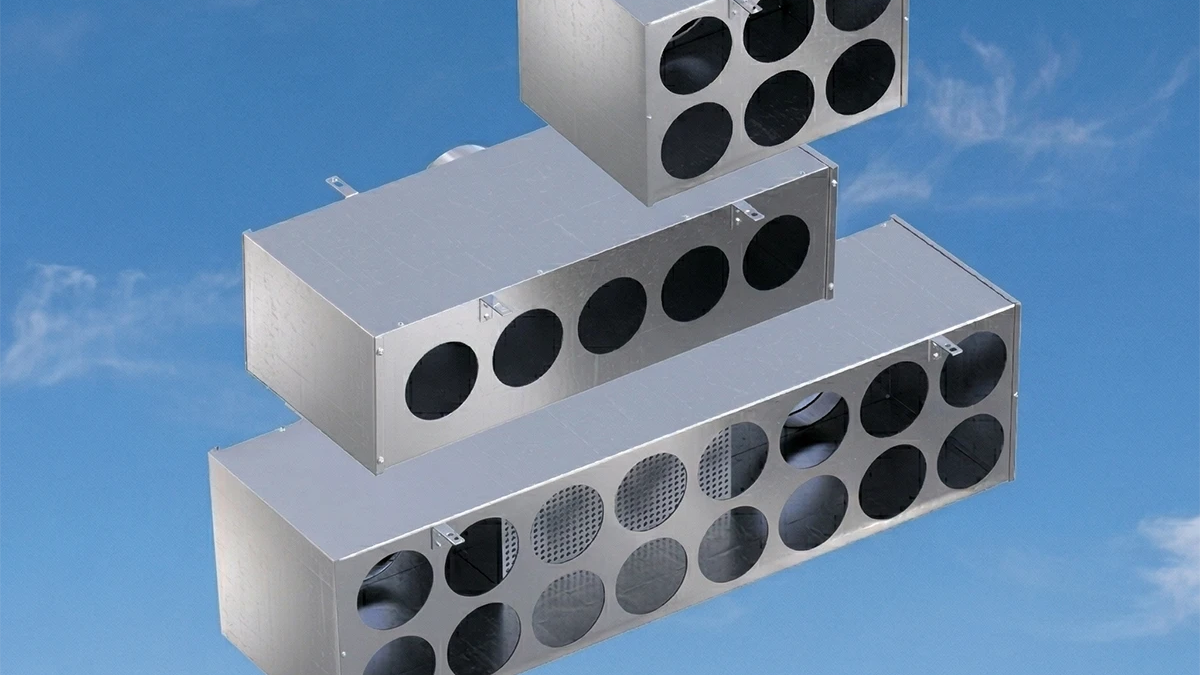
- Blanking caps (plugs) - airtight plastic covers designed to close unused ports on manifolds. They are also used to temporarily cover plenum box openings during construction to prevent dust from entering the system.
- Mounting bands and brackets - perforated metal bands or special plastic brackets designed to neatly secure flexible ducts to the concrete slab or wooden joists, maintaining straight lines and preventing the pipes from sagging.
The rule of manufacturer compatibility
Always choose sealing details from the exact same manufacturer as the ducts themselves. Different brands' 75 mm pipes can have slight variations (corrugation depth, distance between rings). If you use another manufacturer's gasket, it might be too loose or too thick, leading to a difficult insertion into the connector or an air leak. Consistency is your best guarantee.
The installation and sealing process
Correct fastening step by step
A flawless connection takes just a few seconds if you know the correct sequence. The 'Click' system is designed to make installers' work as easy as possible and prevent any mistakes.
- A clean cut - the duct is cut perfectly perpendicularly, right in the valley of the corrugation. The cut area must be clean, without sharp plastic splinters.
- Positioning the gasket - the rubber gasket is slipped onto the duct. It is important to follow the manufacturer's instructions – usually, the gasket is placed in the second or third groove from the cut end so it sits in the optimal sealing zone.
- Insertion - the duct with the mounted gasket is pushed straight into the branch of the plenum box or coupling until it hits the internal stop.
- Locking - a locking ring is pressed into place on top of the branch or in a special slot. You will hear a clear click – this means the pipe is mechanically locked and ready for long-term service.
Long-term peace of mind after hiding the system
These details require absolute reliability because they later become completely inaccessible. Once the entire duct network is hidden behind plasterboard ceilings, the rubber gaskets and locks will quietly do their job for decades. High-quality rubber does not lose its elasticity, and the plastic does not crack from temperature fluctuations. By investing in reliable fastening details from the very start, you secure peace of mind and a system that will deliver fresh air flawlessly.