Plaster-in Diffusers

Forget plastic ventilation covers ruining the look of your plasterboard ceilings. Plaster-in diffusers become a completely invisible interior detail, blending seamlessly with the surface.
Enjoy perfectly smooth aesthetics and premium aerodynamics, guaranteeing quiet air distribution without any compromises.


How plaster-in diffusers create perfect ceiling aesthetics
The visual disruption of standard ventilation grilles
When creating a modern, minimalist interior, the greatest focus is on smooth surfaces and clean lines. However, traditional plastic or metal ventilation covers with wide frames often become unwanted accents, ruining the look of carefully prepared plasterboard ceilings.
Over time, dark dust rings often appear around standard diffusers, which are difficult to clean. Furthermore, plastic gradually yellows from sunlight, making the ceilings look untidy after a few years, and replacing old covers without damaging the paint is a complex task.
Invisible ventilation system integration
Plaster-in diffusers completely change the approach to ceiling design by becoming an invisible engineering detail. Their mounting frame is mudded into the plasterboard before painting, so the final result leaves only a thin, elegant air exit slot in the ceiling. The central cover is painted with the exact same ceiling paint, ensuring absolute color and texture matching.
This solution not only looks aesthetically pleasing but also boasts the highest aerodynamic performance. Air is dispersed evenly along the ceiling (the Coanda effect), ensuring maximum comfort without direct drafts in your relaxation zones. You enjoy fresh air without seeing the system's frames at all.
Absolute ceiling seamlessness – plaster-in diffusers blend completely into the surface, leaving no protruding frames and allowing your interior details to take center stage.
How to choose the right plaster-in diffusers?
Although visually plaster-in diffusers may look similar, their technical characteristics and installation nuances differ. When selecting these elements for your home, pay attention to several key parameters that guarantee longevity:
- Material (gypsum vs. composite) - diffusers are made from a special gypsum mix, polyurethane, or metal. Gypsum models offer the best adhesion to ceiling finishes and the lowest risk of cracking, as they react to temperature changes just like the ceiling itself.
- Connection diameter (mm) - the diffuser neck must match the diameter of your plenum box and duct system. 100 mm or 125 mm models are most commonly used for standard rooms, and 160 mm for larger spaces or main supply lines.
- Airflow capacity - note how much air volume (m3/h) the diffuser can handle without causing noise. Distributors with insufficient capacity will operate loudly, so it is always recommended to have a capacity reserve in your design.
- Cover mounting method - the highest quality models feature magnetic central covers. This allows them to be easily removed for cleaning without the risk of damaging the plastered edges or the paint layer.
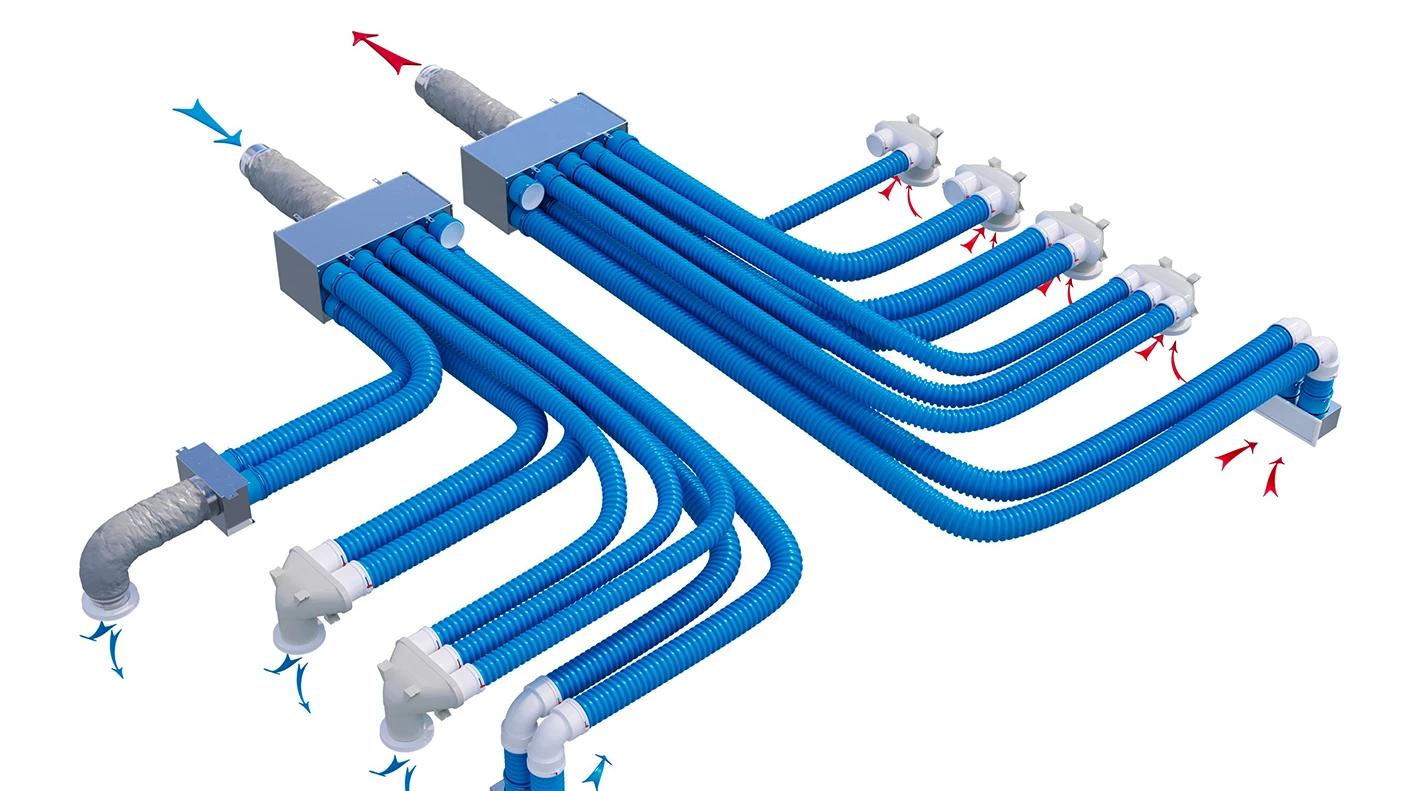
Smooth integration with the ductwork system
Plaster-in distributors require a specific ceiling drop height and precise planning. If you are using a flexible duct system, make sure the diffuser boxes will fit between the slab and the plasterboard frame. When planning the system, it is also useful to consider diffuser accessories, such as flow regulators for smooth balancing after installation.
Installation of plaster-in diffusers and long-term maintenance
The installation process: requiring precision
Unlike standard grilles, the installation of plaster-in diffusers takes place during the finishing stage and requires diligence from the tradesmen. The process consists of several clear engineering steps:
- Preparing the plenum boxes - before screwing the plasterboard, the diffuser plenum boxes are firmly anchored to the ceiling. It is important to install them level so they match the future plasterboard plane.
- Fixing the frame - after cutting the opening in the plasterboard, the diffuser mounting frame is screwed directly to the board's edges. Small gaps are left at the screwing points for elastic filler.
- Reinforcing and plastering - this is the most critical stage. The connection between the frame and the gypsum is reinforced with a special fiberglass mesh and plastered with elastic compounds (e.g., Uniflott). This guarantees that no micro-cracks will appear around the opening over time.
- Painting and balancing - the ceiling is painted together with the central diffuser cover. After all work is completed, airflow regulation is performed inside the diffuser and measured with an anemometer.
Convenient and safe maintenance
Although the device is fully integrated into the ceiling, its maintenance is simple and requires no tools. To clean the dust, simply pull the magnetic cover down gently, wipe it with a dry or damp cloth, and return it to its place. The most important rule for avoiding dark rings on white ceilings is to change the central heat recovery unit filters on time. This will ensure that only perfectly clean air flows through your modern plaster-in diffusers.